How to
Repair and Refurbish Furniture
Furniture repairs may seem like something best left to the pros, but when all you’re dealing with is a few nicks and cuts on a desk or table, you can handle it yourself. You don’t need any special training to make these fixes. As you’ll see in this Pottery Barn video, you have already learned most of the skills you'll need to get the job done.
If you know how to color with crayons or markers, you have what it takes to repair your furniture. The one difference is that you need special equipment to address these kinds of repairs. Specifically, you need a wax furniture fill stick and a furniture touch-up paint pen, both in shades that match the color of your furniture. You may not be able to get an exact match, but if your repairs don’t cover a wide area on the furniture and you approach the repair correctly, the color difference won’t be terribly noticeable, and it will certainly look better than it did before.
In addition to the fill stick and touch-up pen, you need a hard plastic scraper – even an old credit card will do. Don’t use metal for this, or you might end up scratching your furniture and creating additional damage. You need a scouring pad – again, don’t use metal or anything too abrasive or you may cause damage to the furniture finish – and a soft cloth, preferably something with some texture such as a terrycloth dishtowel that can effectively wipe up wax from the fill stick.
Start by selecting a fill stick that’s similar in color to the finish of the furniture you’re repairing. You can use a light stick on dark furniture in a pinch, but dark over light makes the repair quite noticeable. Run the stick back and forth over the area that needs repair, taking care to be thorough and get the wax deep into any dents or cracks. Don’t concern yourself with getting wax onto the surface you’re repairing, as you can use the plastic scraper to clean that up when you’re done with the job.
After you’re satisfied that you’ve filled in all the flaws on the furniture’s surface, use the plastic scraper to scrape up any excess wax surrounding the repaired area. Take the scouring pad and smooth the surface of the filled-in wax, working in the direction of the furniture’s wood grain. You can then use the soft cloth to clean up remaining excess wax or shape the wax to match the shape of the furniture at the repair point.
If necessary, touch up with a paint pen to further camouflage the wax from the fill stick. Before you use the touch-up pen, make a mark on the furniture in an obscure, out-of-view area such as the underside of a table edge or the leg of a chair right before it meets the top. This way, you can see whether the pen matches the stain or finish on your furniture. Because you’re testing for color accuracy, be sure to make this test mark on a portion of the furniture that has the same color and finish as the area being repaired.
If the color is a good match, gently dot on small dabs of color over the waxed area you filled in with the fill stick. You don’t want to draw a straight line down the length of the repair – stippling in small dots helps the patched area blend into the rest of the furniture’s surface. Gently dot or feather on some cover color over the fill stick wax until your furniture's surface looks cohesive. Let the cover paint dry, then use the soft cloth to wipe up any excess wax to give your table or other furniture piece a polished look.
Other Articles You May Be Interested In
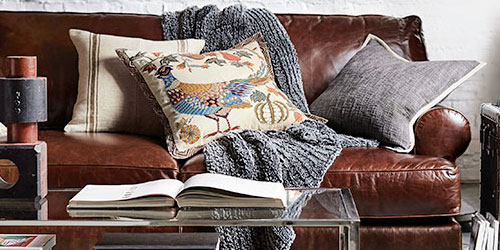
When you take great care of your leather furniture, it can last for decades and become even more comfortable.

Work with the bride or the bride's mother to choose a date that works for key guests, like family members and the bridal party.